logo

Blog Detail

blog
"Step-by-Step Guide to Decorating a Pineapple Sponge Cake


Equipment Required to Decorate the Cake:
  • Serrated Knife
    Use: For cutting the cake into even layers and trimming any uneven edges.

  • Offset Spatula
    Use: Helps in spreading and smoothing frosting or filling between layers and on the surface.

  • Cake Turntable
    Use: Provides a rotating surface for easy access to all sides of the cake while decorating.

  • Piping Bags and Nozzles
    Use: Used for detailed piping of frosting or decorative elements on the cake. Nozzles come in various shapes and sizes for different effects.

  • Cake Scraper
    Use: Smooths and levels the frosting on the sides of the cake.

  • Cake Board
    Use: Provides a sturdy base for the cake and makes it easier to handle and transport.

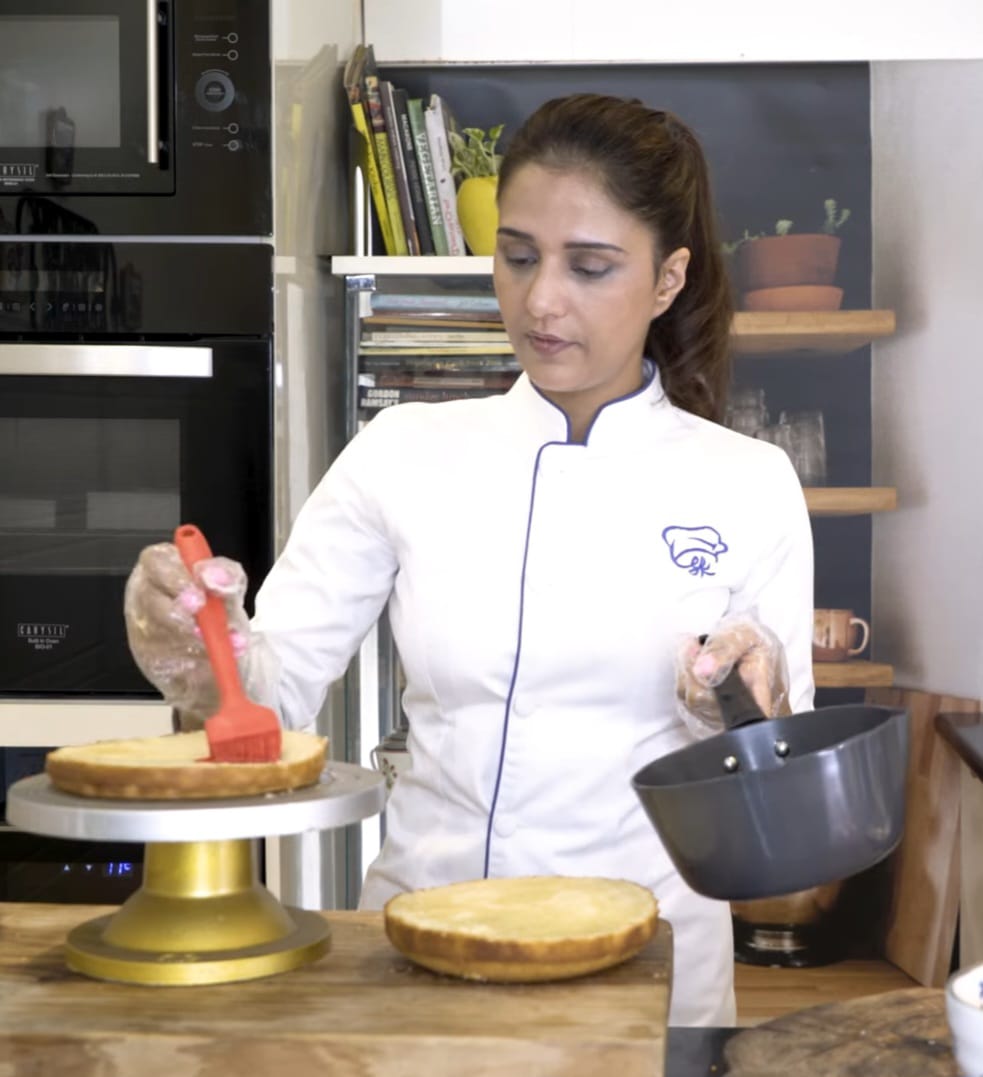
  • Pastry Brush
    Use: Used to apply simple syrup or fruit juice to the layers to keep them moist.

  • Cake Stand
    Use: Displays the cake while you work on it and for serving.

  • Measuring Cups and Spoons
    Use: Ensures accurate measurement of ingredients for the frosting or any additional components.

  • Cooling Rack
    Use: Allows the cake to cool evenly and prevents it from becoming soggy.

  • Sieve or Fine Mesh Strainer
    Use: For sifting powdered sugar or cocoa powder for a smooth frosting.

  • Spatula (Silicone or Rubber)
    Use: Helps in mixing and folding ingredients, and scraping down bowls.

  • Decorative Stencils (Optional)
    Use: Adds patterns or designs to the top or sides of the cake.

Ingredients:

For Simple Syrup:

  • 1 cup granulated sugar
  • 1 cup water

For Whipping Cream:

  • 1 cup heavy cream
  • 2 tablespoons granulated sugar
  • 1 teaspoon vanilla extract
  • Edible yellow food coloring (for pineapple-flavored cream)

For Decoration:

  • Cherry puree
  • Additional food coloring or essence as needed

Recipes:

Simple Syrup:

Ingredients:

  • 1 cup granulated sugar
  • 1 cup water

Instructions:

  1. Combine the sugar and water in a small saucepan.
  2. Heat over medium heat, stirring constantly until the sugar is fully dissolved.
  3. Let the syrup cool to room temperature.
  4. Store in an airtight container in the refrigerator for up to one month.

Whipping Cream:

Ingredients:

  • 1 cup heavy cream
  • 2 tablespoons granulated sugar
  • 1 teaspoon vanilla extract

Method:

  1. Chill a mixing bowl and beaters in the freezer for 15 minutes.
  2. Pour the heavy cream into the chilled bowl.
  3. Begin whipping on low speed, gradually increasing to high speed.
  4. As the cream starts to thicken, add the sugar and vanilla extract.
  5. Whip until stiff peaks form, but be careful not to overwhip.
  6. Divide the whipped cream into two portions.
  7. Flavor one portion with vanilla extract and the other with pineapple essence or food coloring to achieve a yellow color.

Decoration Steps:

  1. Prepare the Cake Layers:

    • Slice the cake into three even layers using a serrated knife.
    • Place the bottom layer on a cake board or turntable.
  2. Moisturize the Cake:

    • Brush the top of the bottom layer with simple syrup to keep it moist.
  3. Apply Whipping Cream:

    • Spread a layer of vanilla-flavored whipping cream evenly over the bottom layer using an offset spatula.
    • Place the second layer of cake on top and repeat the process, applying more vanilla whipping cream.
  4. Final Layer and Frosting:

    • Add the final layer of cake on top.
    • Apply a thin crumb coat of vanilla whipping cream around the entire cake to seal in crumbs. Chill for 30 minutes to set.
    • After chilling, apply a thicker layer of vanilla whipping cream, smoothing it out with an offset spatula.
  5. Decorate with Yellow Whipping Cream:

    • Transfer the pineapple-flavored whipping cream (colored yellow) to a piping bag fitted with a decorative tip.
    • Pipe decorations onto the cake as desired (e.g., rosettes, borders, or other designs).
  6. Add Cherry Puree:

    • Drizzle or dot cherry puree over the cake as a final touch.

Tips and Tricks:

  • Chill Equipment: Ensure your mixing bowl and beaters are chilled before whipping cream to achieve better volume and stability.
  • Check Consistency: Be careful not to overwhip the cream; it should form stiff peaks but still be smooth and spreadable.
  • Layer Evenly: Use a cake leveler or serrated knife to cut even layers and ensure the cake is level for a professional look.
  • Crumb Coat: Apply a thin layer of frosting to seal in crumbs before applying the final coat for a smooth finish.
  • Piping Precision: Practice piping techniques on parchment paper if you're new to decorating. This helps achieve more precise designs on the cake.
  • Storage: Keep the decorated cake refrigerated until serving to maintain the freshness of the whipping cream.

.